This is a Debian remake of the great article about how to interface a Microchip TCN75 Temperature sensor via I2C on Slackware. You have to read it first. Here I’ll post only brief notes and the differences with Debian on Bifferboard.
Required Software
You can install the required software by the following command, no need to compile anything:
apt-get install i2c-tools
Kernel modules
The instructions are fairly the same here, except that there is no module “i2c-core” and you don’t need to load it:
modprobe rdc321x_gpio

modprobe i2c-algo-bit

modprobe i2c-gpio
You have two options on where to connect the I2C pins (SDA and SCL):
- The difficult one – connect them to the JTAG pins by disabling the JTAG first. You will need to solder on the Bifferboard which may void your warranty.
- The easy one – connect them to the Serial console pins. There is no soldering involved here but the trade-off is that you cannot use these pins for your Serial RS-232 console which you may need for debugging or for other purposes. But you could always attach another serial console via USB by using an FT232R chip, for example. This option is my personal favorite here.
Both options work fine, I’ve tried them myself. Here are the corresponding commands:
# using the JTAG pins #11 and #13, soldering required to enable them

modprobe i2c-gpio-custom bus0=0,11,13
# using the Serial console pins #7 and #8, no soldering involved here
modprobe i2c-gpio-custom bus0=0,8,7
Finally, you need to load one more additional module and you are done:
modprobe i2c-dev
Application software
The original Slackware article gives an example on how to query your I2C temperature sensor.
-

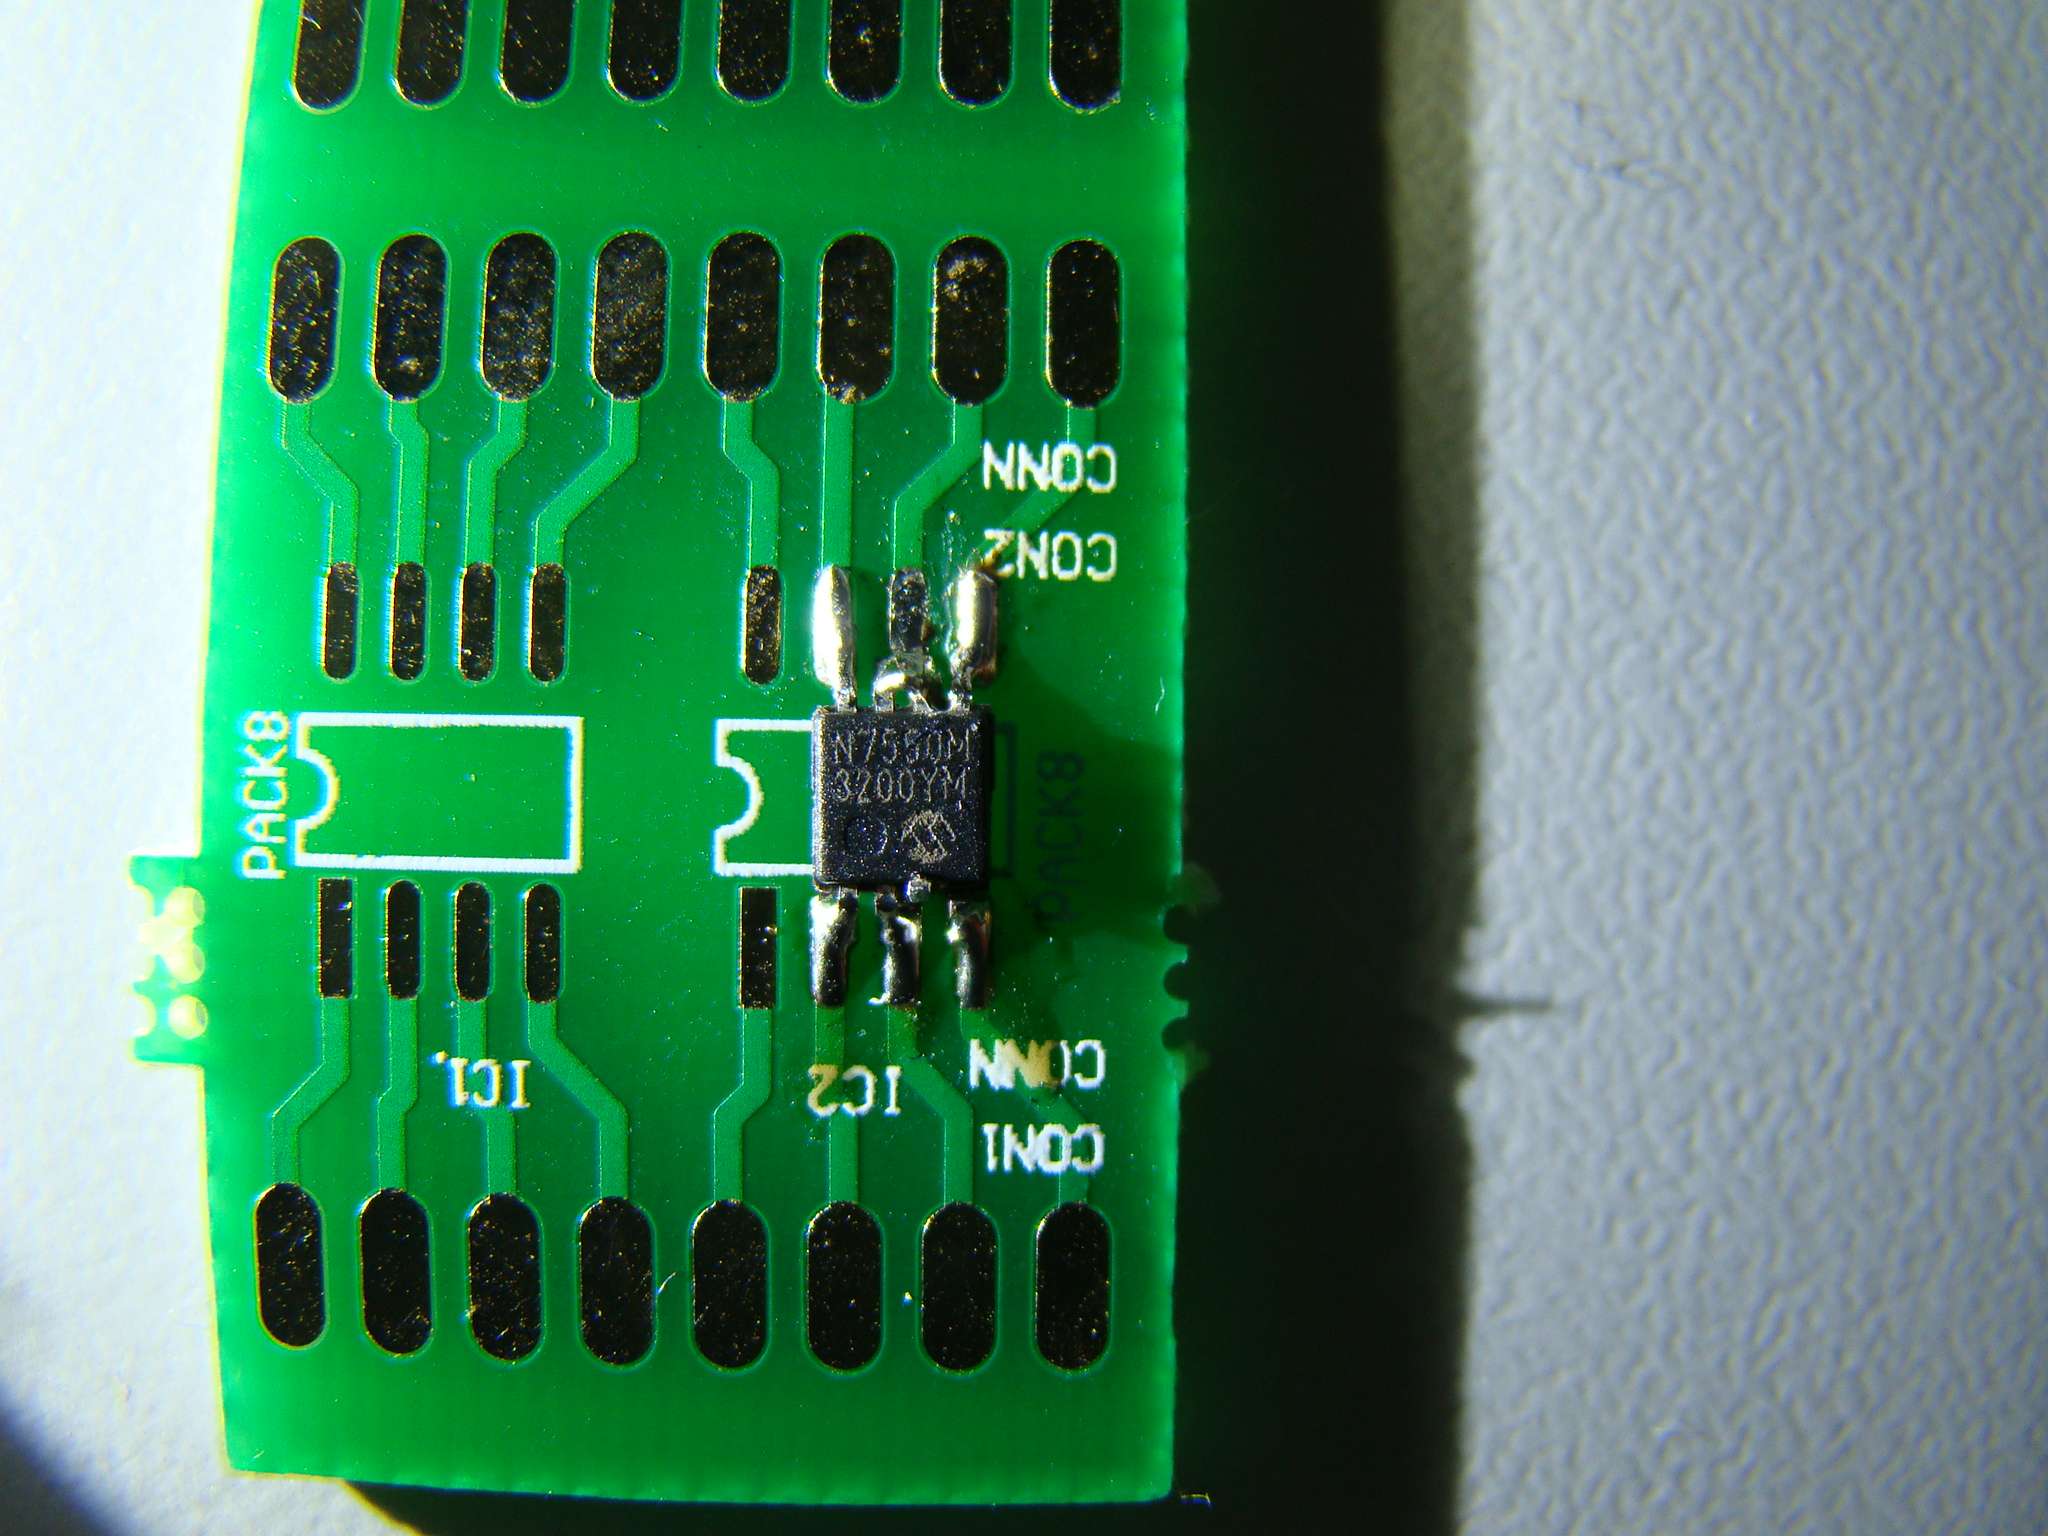
- TCN75 tiny SMD soldered
-
- The third pin of TCN75 is not used here

-

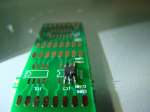
- TCN75 tiny SMD soldered completely, with cables

-

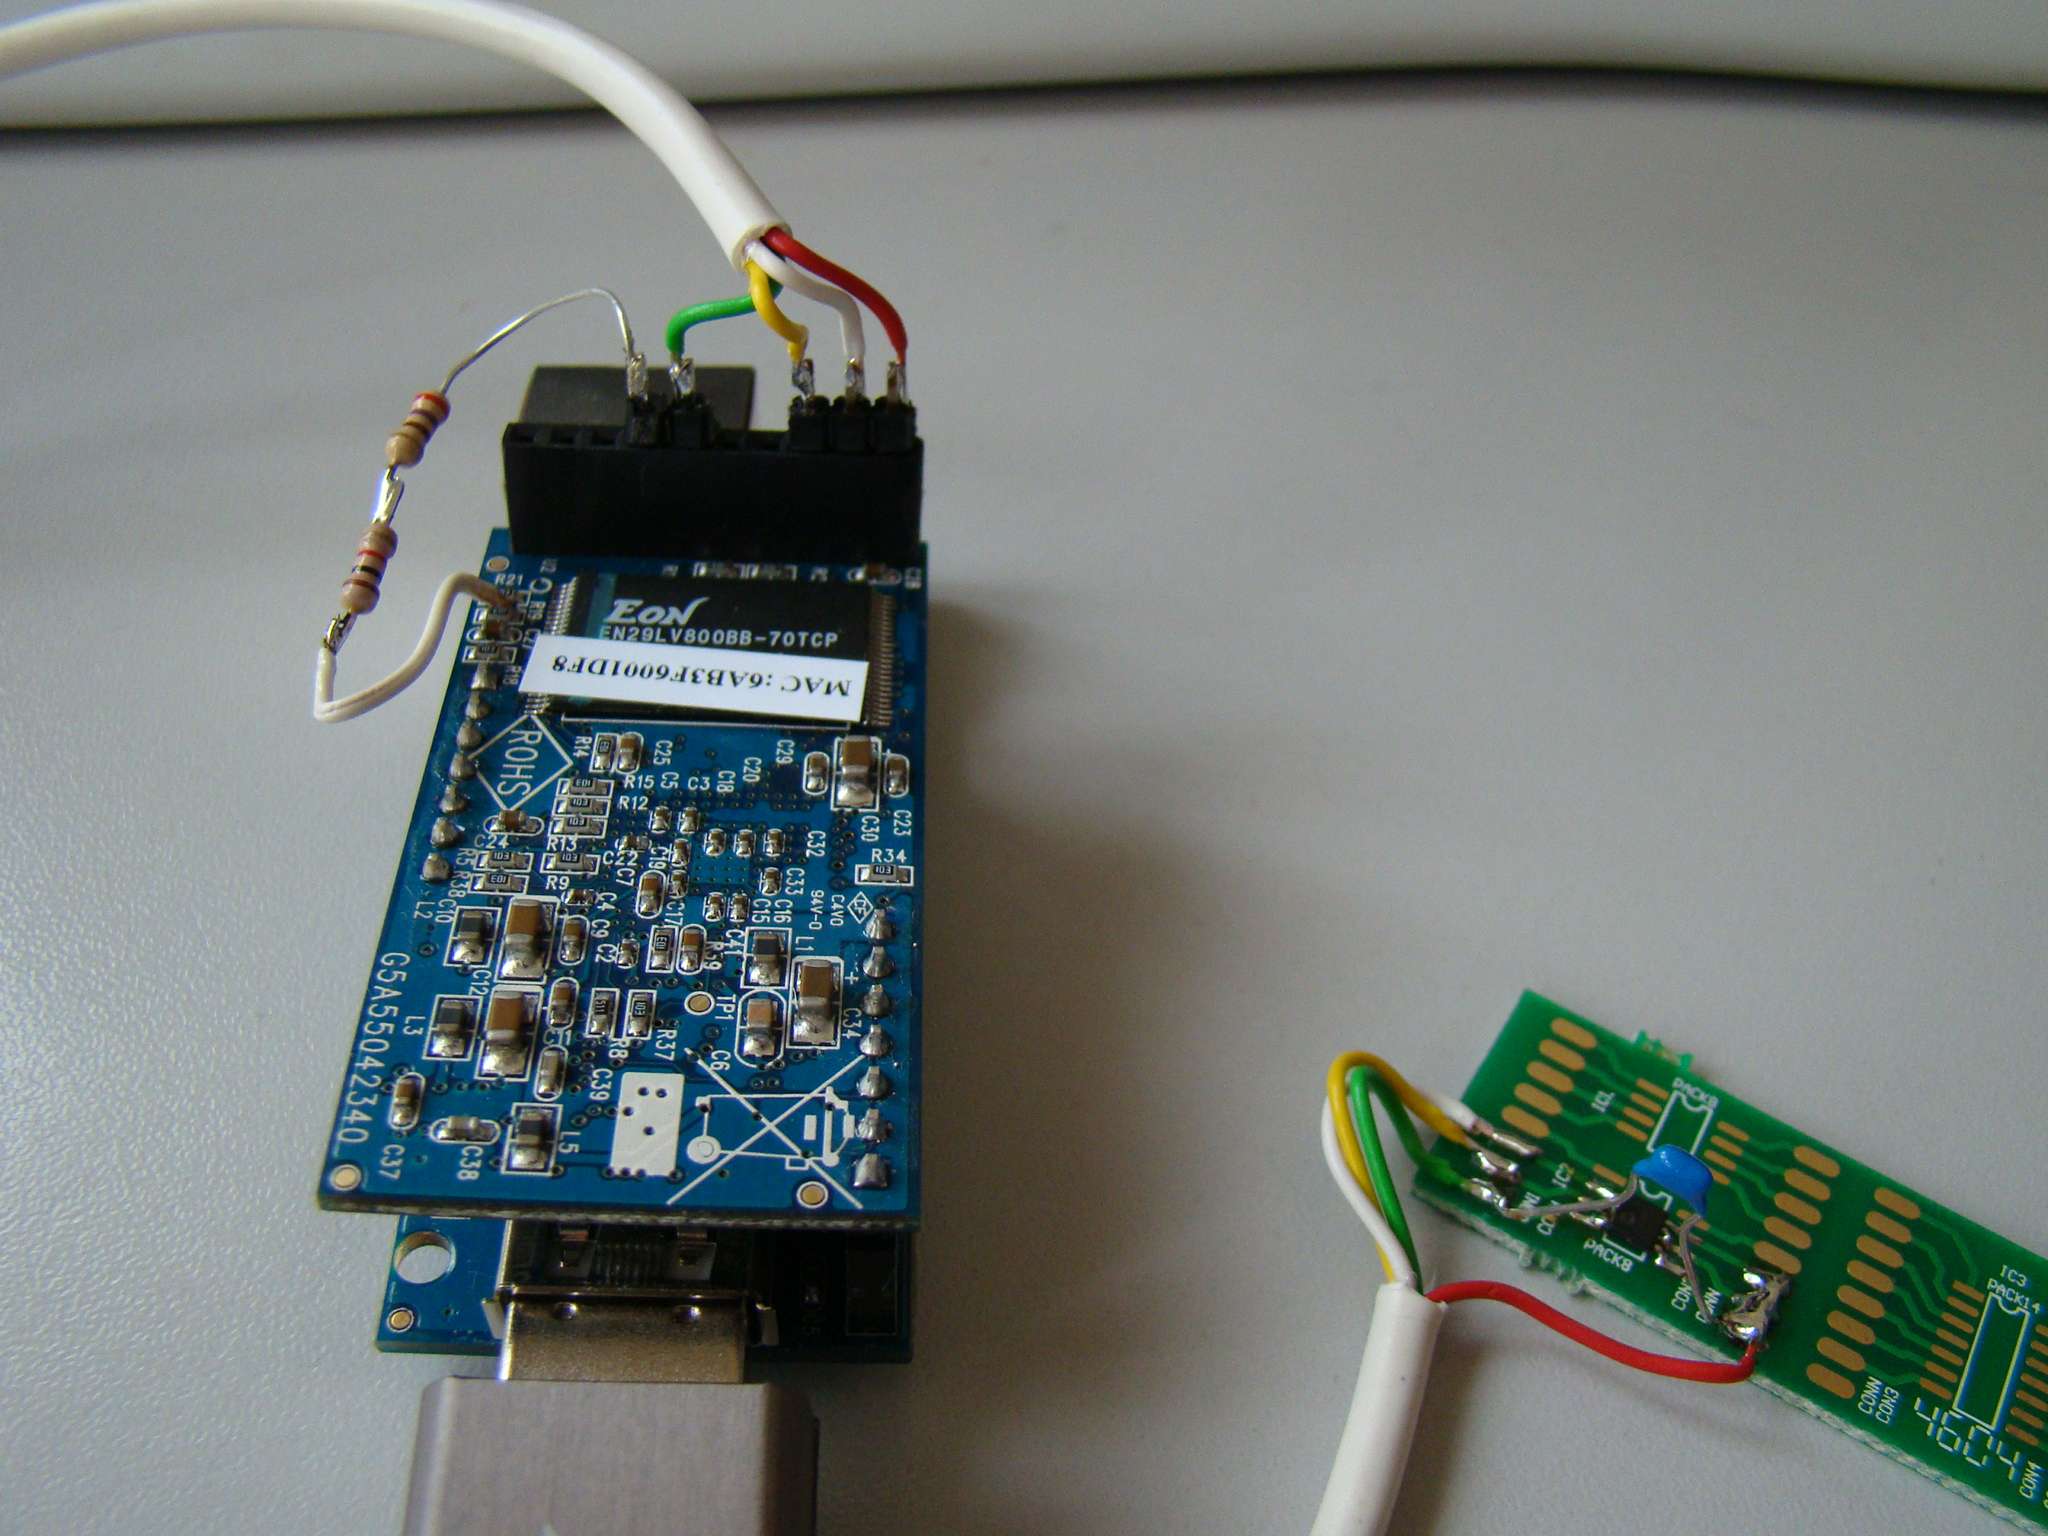
- I2C using the JTAG pins; note the additional resistor soldered on Bifferboard
-
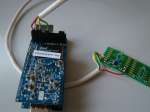
- I2C using the Serial console pins


February 6, 2013 at 10:22 pm
Hi, first of all, thanks for sharing. I have used i2c on the bifferboard for a while now thanks to your post.
But now I wanted to interface a display, and thus programmed an AtMega8 to serve as intermediary and communicate as i2c slave with the bifferboard. When I tested it with a raspberrypi, it worked. But the bifferboard doesn’t even see it with i2cdetect.
I found out that the SCL on the raspberrypi runs at 100khz while it’s only 32.5khz on the bifferboard.
I tried to reconfigure the AtMega8 to run i2c at this speed. But they still don’t see each other.
Do you think it would be possible to run i2c on the bifferboard at 100khz withouth having to recompile the kernel module?
Here is my code for the AVR: https://github.com/ulrichard/rfidtime/tree/master/nokia_display_i2c
February 7, 2013 at 11:16 am
Hi, you’re welcome. Running the SCL on a lower speed should work, only slower, as I2C is a serial protocol being clocked by the SCL line. Therefore this shouldn’t be a problem in your case.
I’m not really a guru in I2C communications but a very common pitfall is if you forgot the pull-up resistors. Are you positive that your hardware interface has them (maybe Raspberry Pi has them built-in while Bifferboard doesn’t)?
February 7, 2013 at 11:17 am
That said above is only true if the Bifferboard is the Master and the AVR is a Slave.
February 8, 2013 at 1:08 am
Good point. I had no pullups indeed. I’m not sure if the AVR activates internal pullups though. So I added 15k pullups, but I can still not see the AVR from the bifferboard.
February 16, 2013 at 2:20 am
Never mind. It seemed to be a flaky AtMega8. Replacing it with another chip from the same batch solved the problem for me.
More details at : http://arduino.cc/forum/index.php/topic,146983.0.html